
Login to eLMO.
Click on Connections and then click on the Contacts tab.
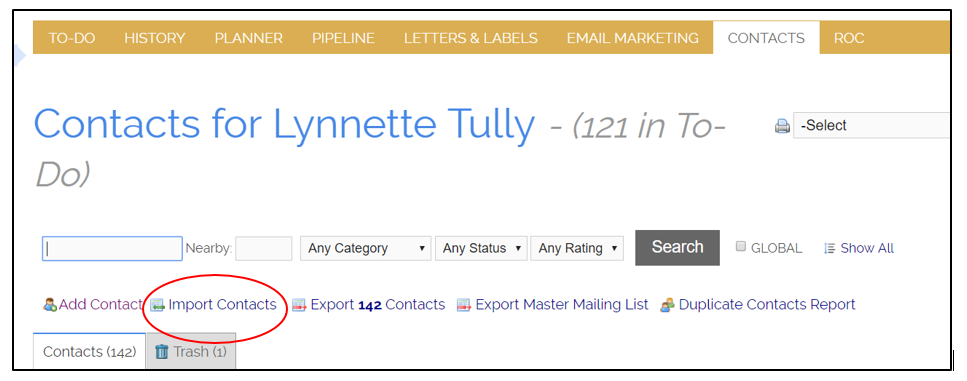
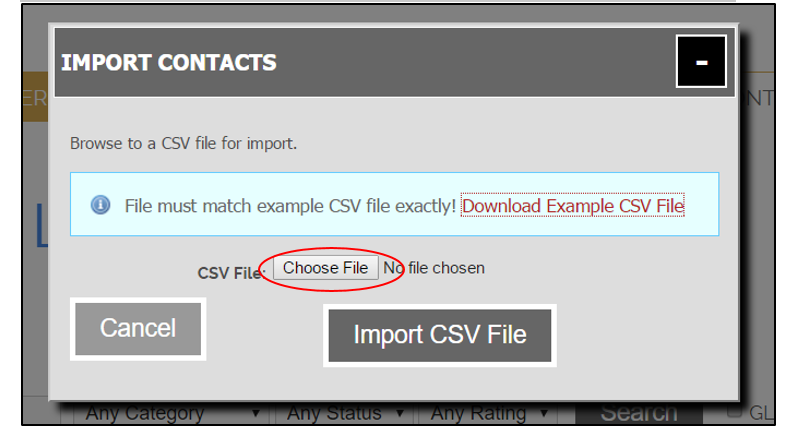
Click Import Contacts.
You want to be sure that your contact list is in the necessary format. To do this, click Download Example CSV File.

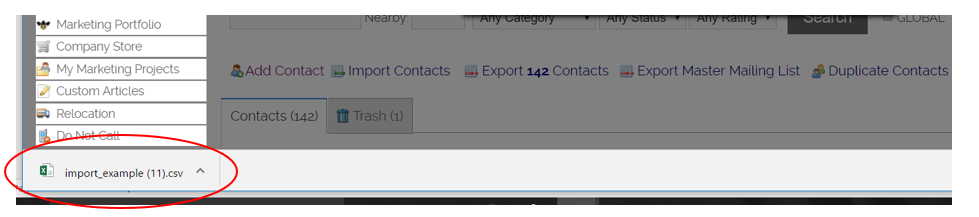
Click to Open the file.
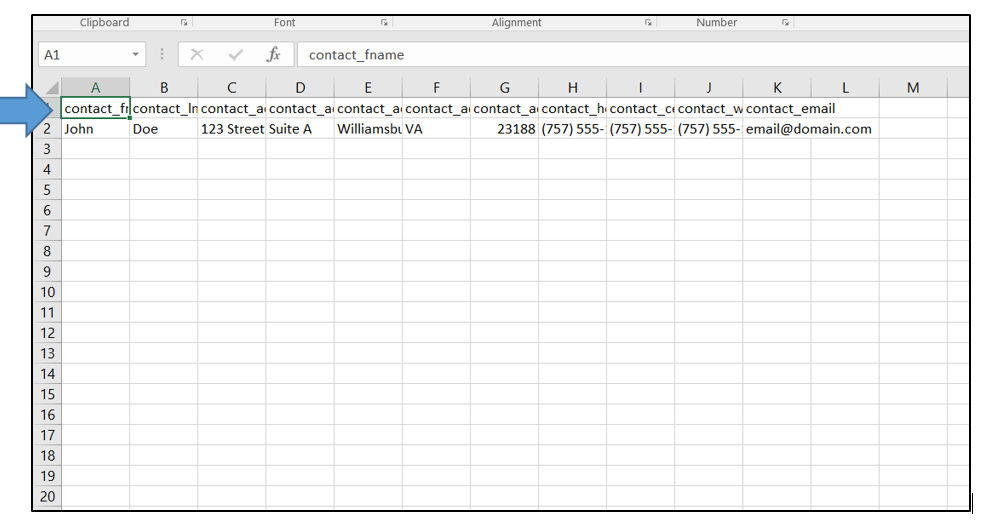
If your contact list is on another spreadsheet and is in a different format, easiest thing to do is copy and paste the info on to the example template.
Make sure you leave the column headers in there (row 1) and do not reorder the columns. These labels are what tells Connections what info goes in what field. Currently, the only fields that can be imported are the fields listed on the example template.
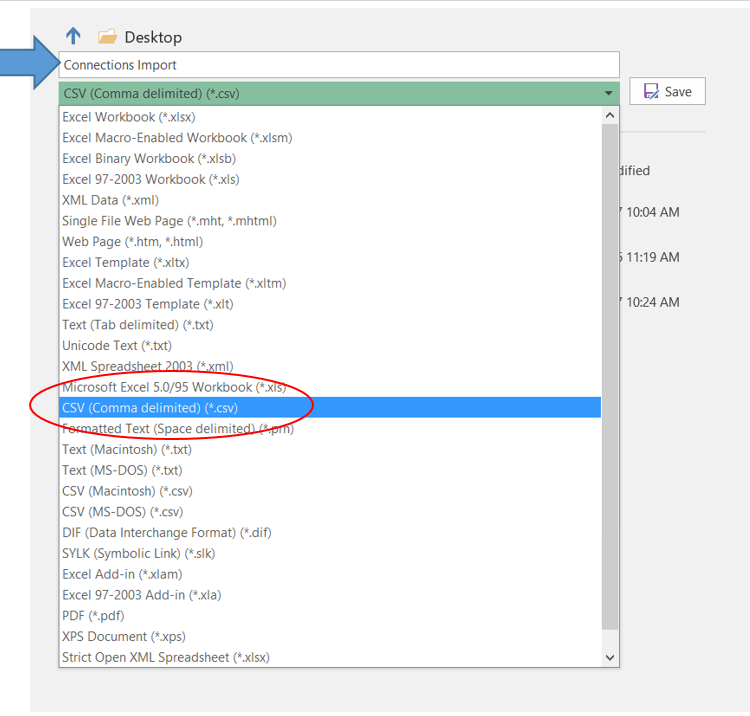
Once you have your spreadsheet complete, you need to save it as a CSV file to your computer.
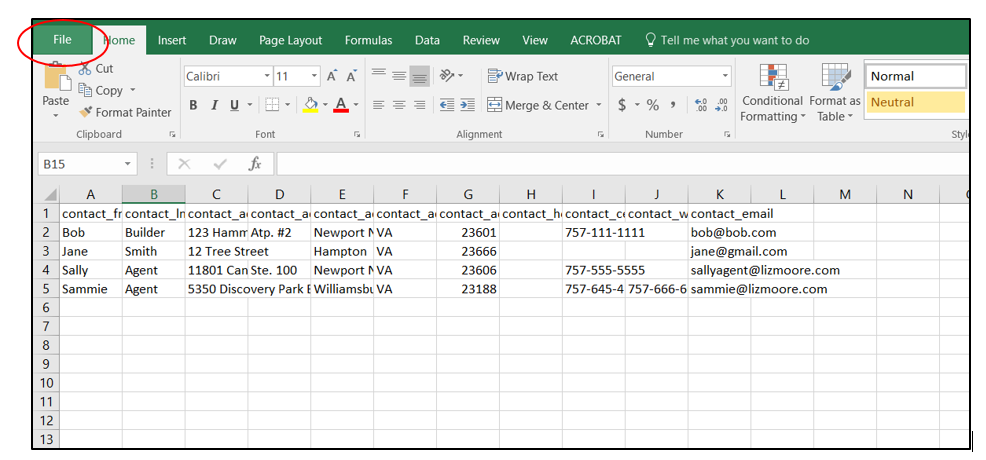
Click File, Save As. Give you file a name and select CSV as the file type. Then, clikc Save.
Next, go back to Connections and click “choose file” to browse your computer.
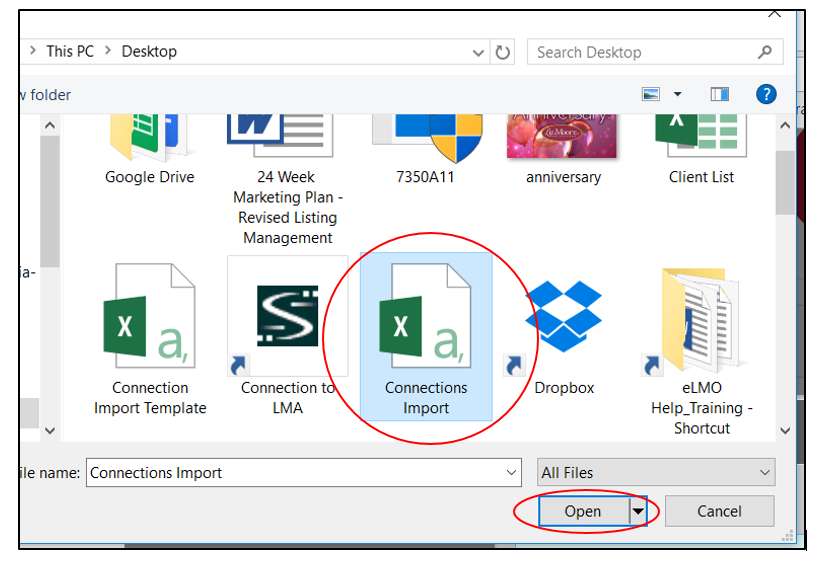
Select the file from the location where you saved it on your computer. Double click (or, click open).
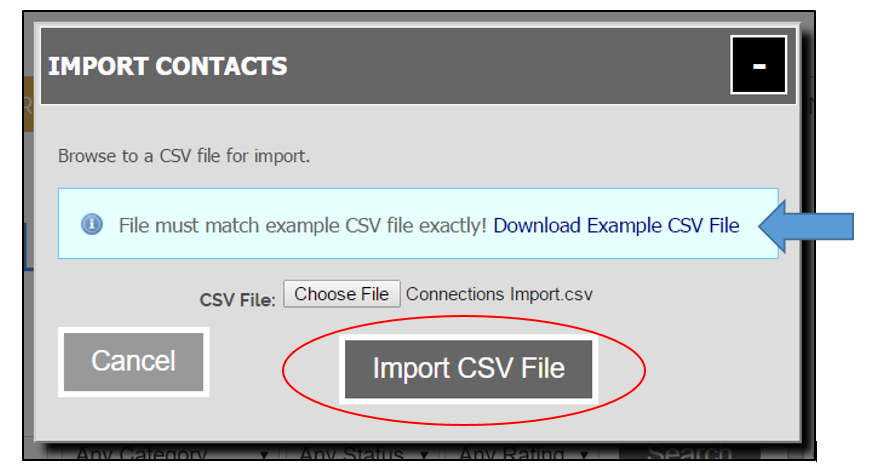
Your file name will show in the import box. Now, click Import File.

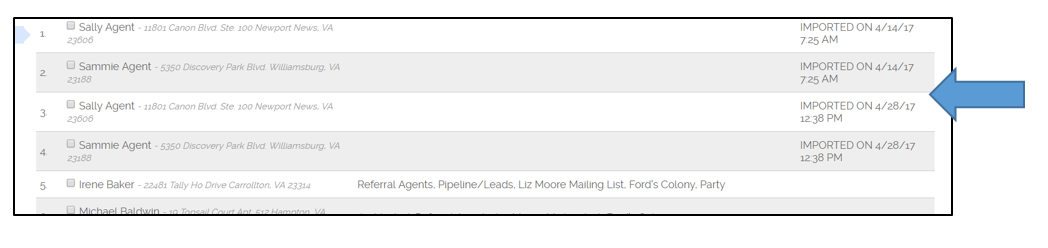
If you, then, want to add your contacts to a category by using the Planner, when you click Assign/Unassign to bring up your contact list, any contacts that were entered via import will be date and time stamped. So, that will help you pick out the contacts you just imported.
Comments
0 comments
Please sign in to leave a comment.