
Login to eLMO.
Click on Connections, Email Marketing, Add Campaign.
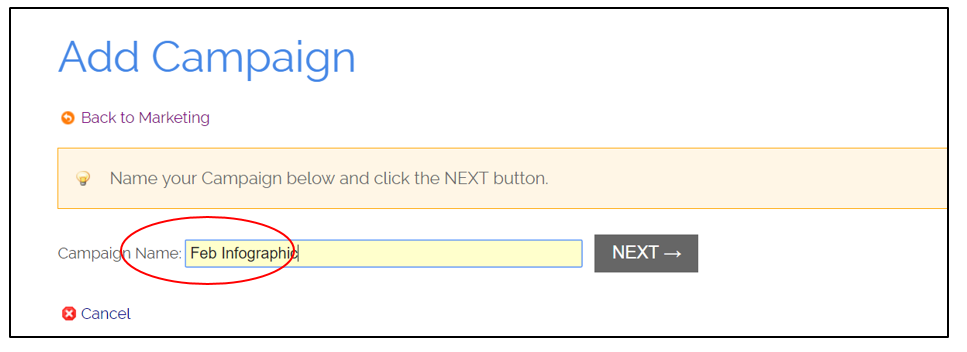
Give your campaign a name (this is for internal purposes only). Click Next.
Click eCard.
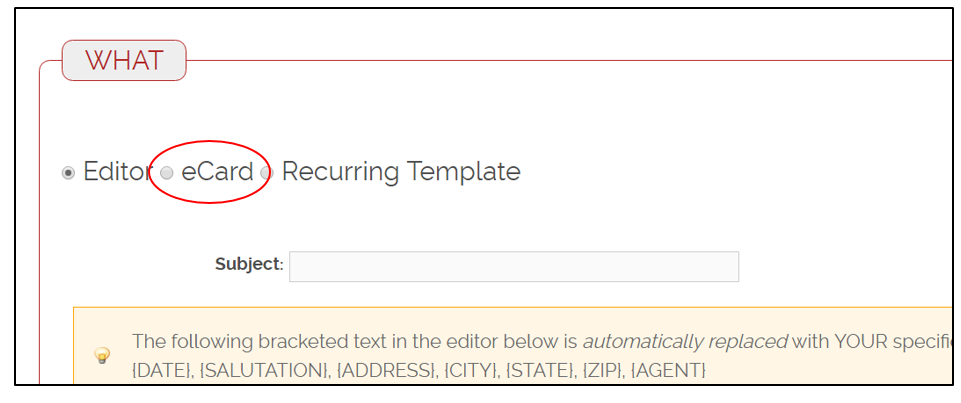
Click on the type of eCard you wish to send.
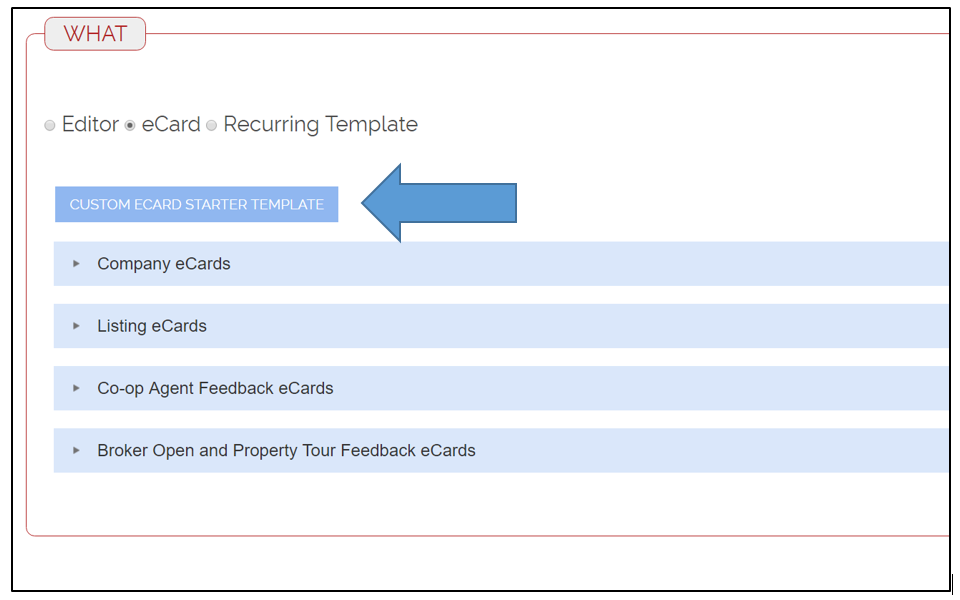
Custom eCard Starter Template: a template for you to start with if you’d like to create your own eCard (you’ll need a jpg image). This is used to send an Infographic.
Company eCards: created for you from Marketing (holiday wishes, event invites, etc.).
Listing eCards: eLMO automatically generates an eCard for all of your listings.
Co-op Agent Feedback eCards: eLMO automatically generates feedback eCards for your listings for you to send after an agent has shown your listing.
Broker Open/Property Tour eCards: eLMO automatically generates feedback eCards for your listings for you to send after an agent has toured your listing.
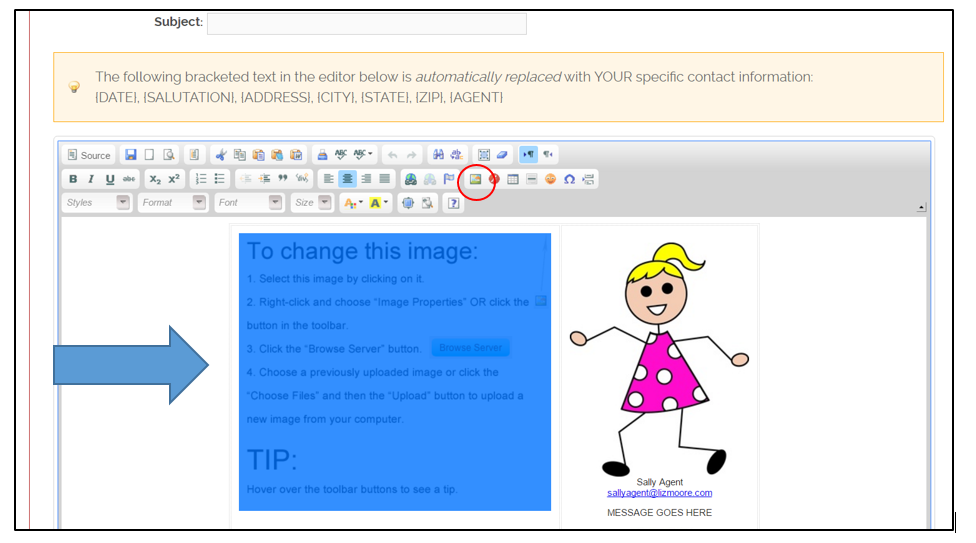
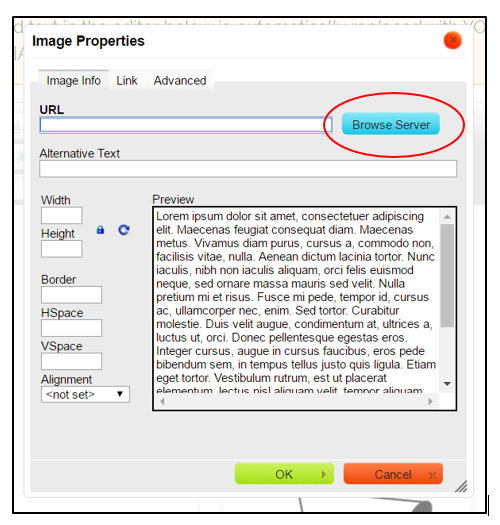
The Custom eCard template will open with directions to start creating. Click on the image that says “To change the image” to highlight it. Then hit backspace to remove the place holder. Next, click on the image icon in the editor to upload your jpg.
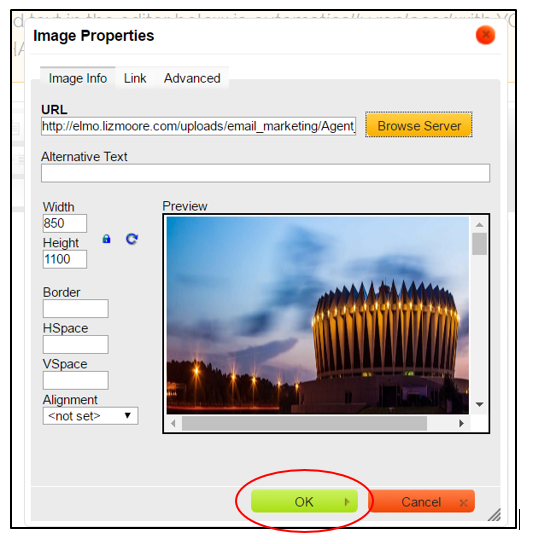
Click Browse Server
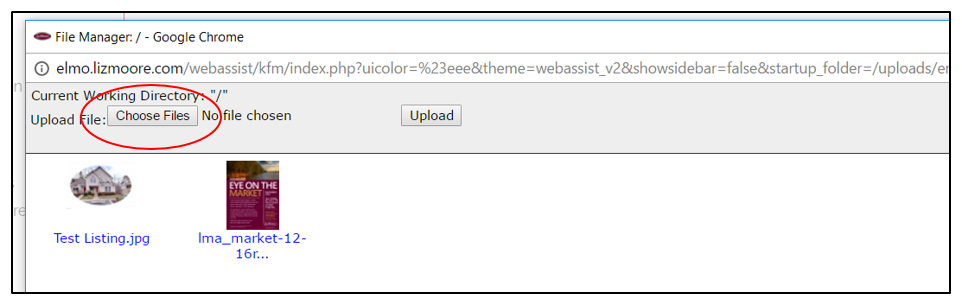
Click Choose Files
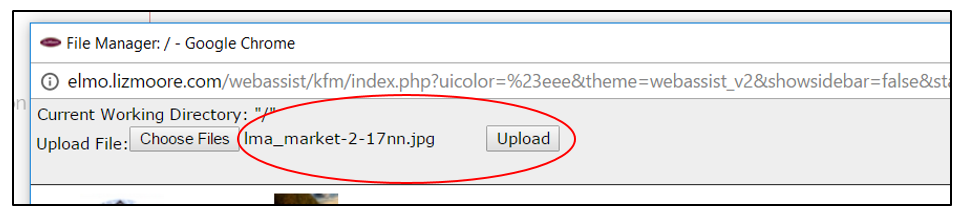
Browse your computer for your jpg and then double click on the file.
You’ll see the file name in the file field, click upload.
You’ll see your new image highlighted. Click ok.
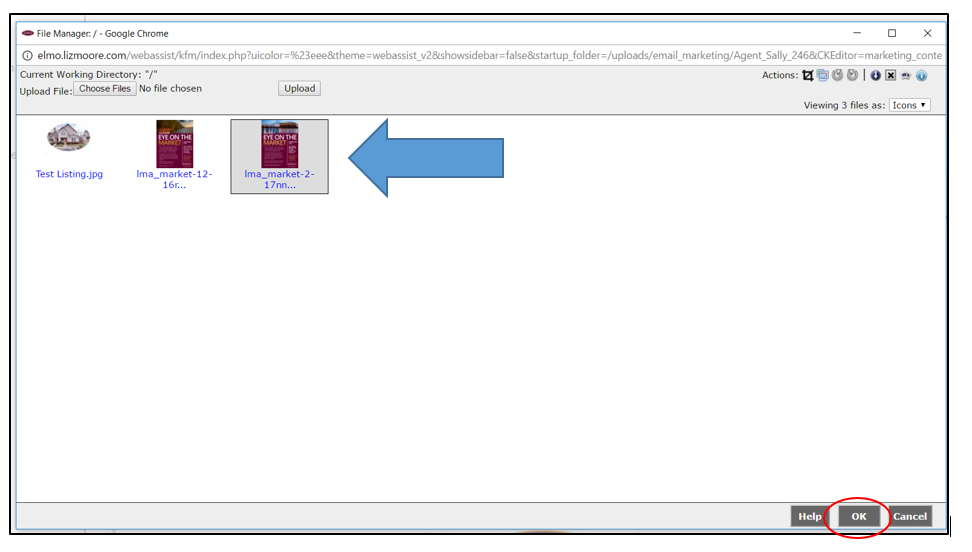
You can resize in this screen, or just click ok.
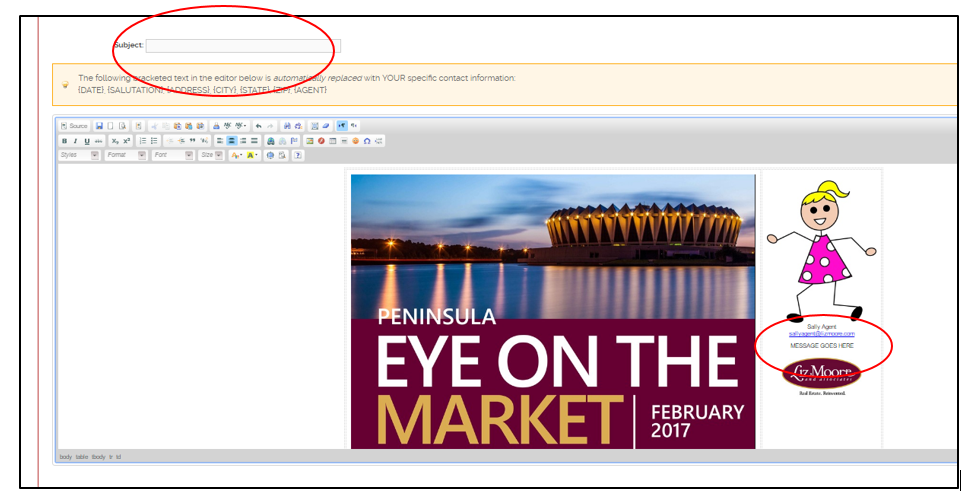
Next, you want to be sure to give your email a subject line, as well as add copy in the “Message Goes Here” field in the body of the email. You simply highlight and delete the “Message Goes Here” filler and type your own, or leave it blank. Your photo and contact info will automatically display.
After you have your eCard setup the way you like, click the “Step 2: Who” tab at the top.
Next you will select your recipient category from the category dropdown box.
You can select any category you have set up in your Connections.
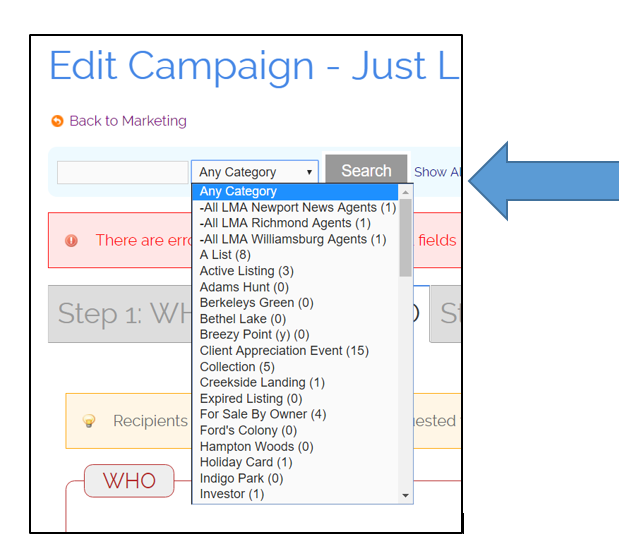
Once you have clicked on your category or office list, click Search.
If you would like to send to everyone in your Connections, instead of selecting a category you would click Show All. Please keep in mind that Connections can only send to 300 recipients at one time.
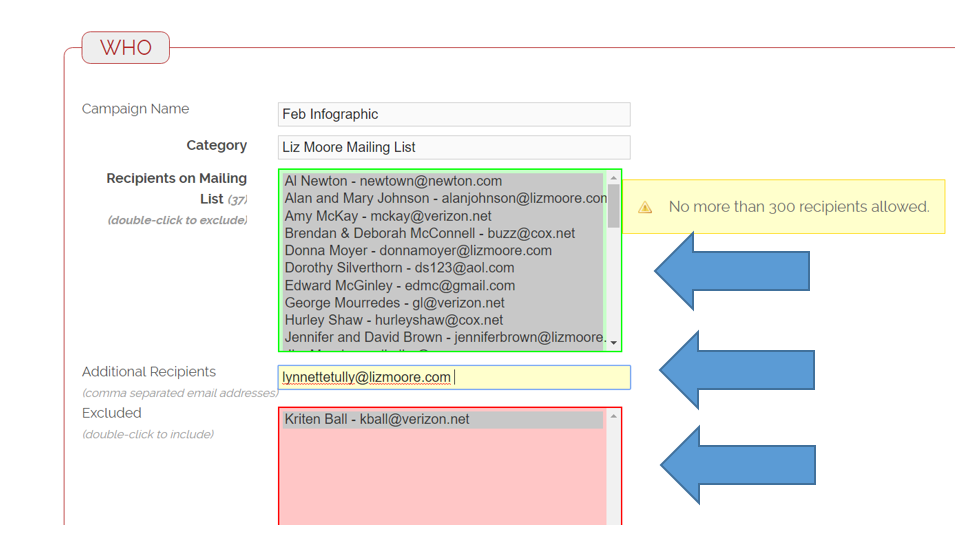
Once you click Search, your recipients will show in the green recipient box. If you are sending to an LMA office, it will only show one recipient and that is correct. That is sending to the group classified email.
You can exclude people who are in the green box by double clicking on their name. That will move them to the Exclude box. You can also send to additional recipients at that time by typing their email address in the Additional Recipients box. They *do not* have to be in Connections for you to do this.
After you have your recipients set, click the “Step 3: Save/Send” tab at the top.

On this screen, you can add an attachment.
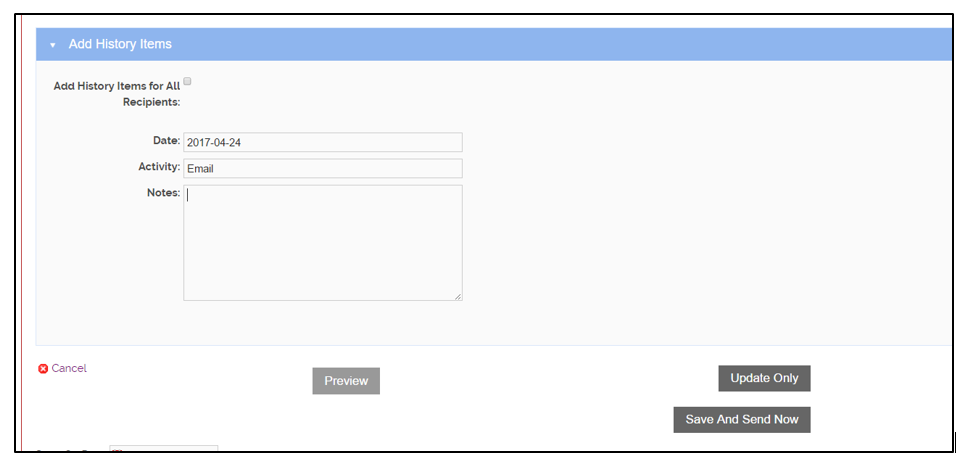
You can add a history item for the entire category you are sending to by clicking Add History Items, inserting the info and clicking “Update”.
You can send on a future date by adding the date in the “Send On” box and clicking “Save and Send on Date”.
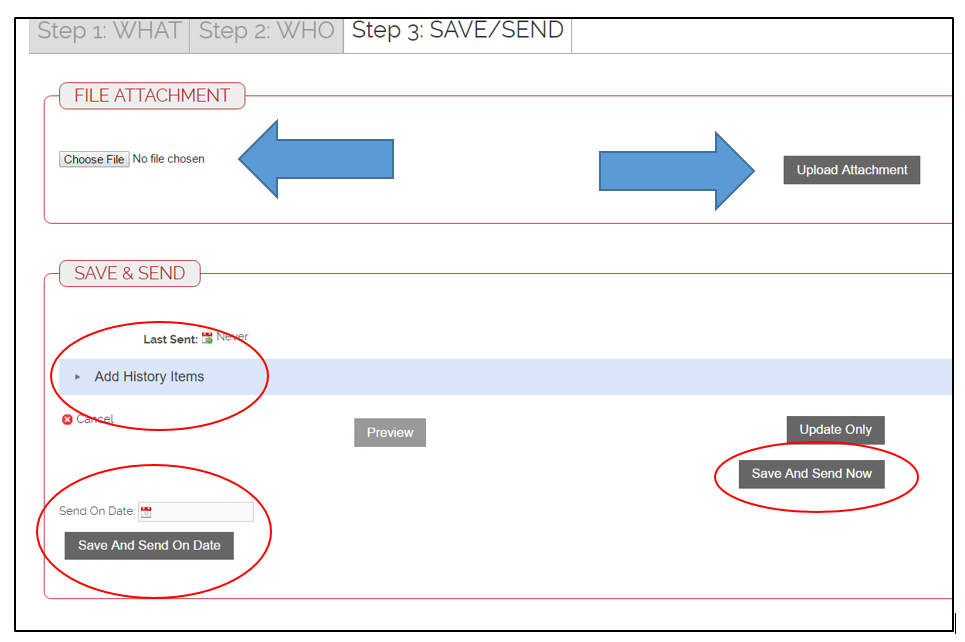
Or, you can send your eCard right them by clicking “Save and Send Now”.
Once your eCard has been sent, you can go back into Email Marketing and view the log. This will tell you if your card has been sent.
Go back to Email Marketing and click on the date to the right of your eCard under the “Last Sent” column.
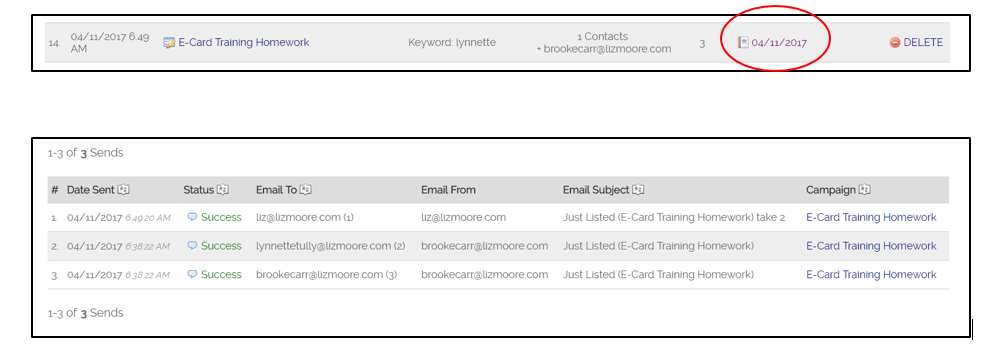
As the recipient, you get a copy of everything you send. So, if you are on the list you are sending to, you will get two copies; one as the sender and then one because you are on the recipient list.
Comments
0 comments
Please sign in to leave a comment.