
eLMO Home > Marketing > Landing Pages
https://elmo.lizmoore.com/landing_pages/landing-pages.php
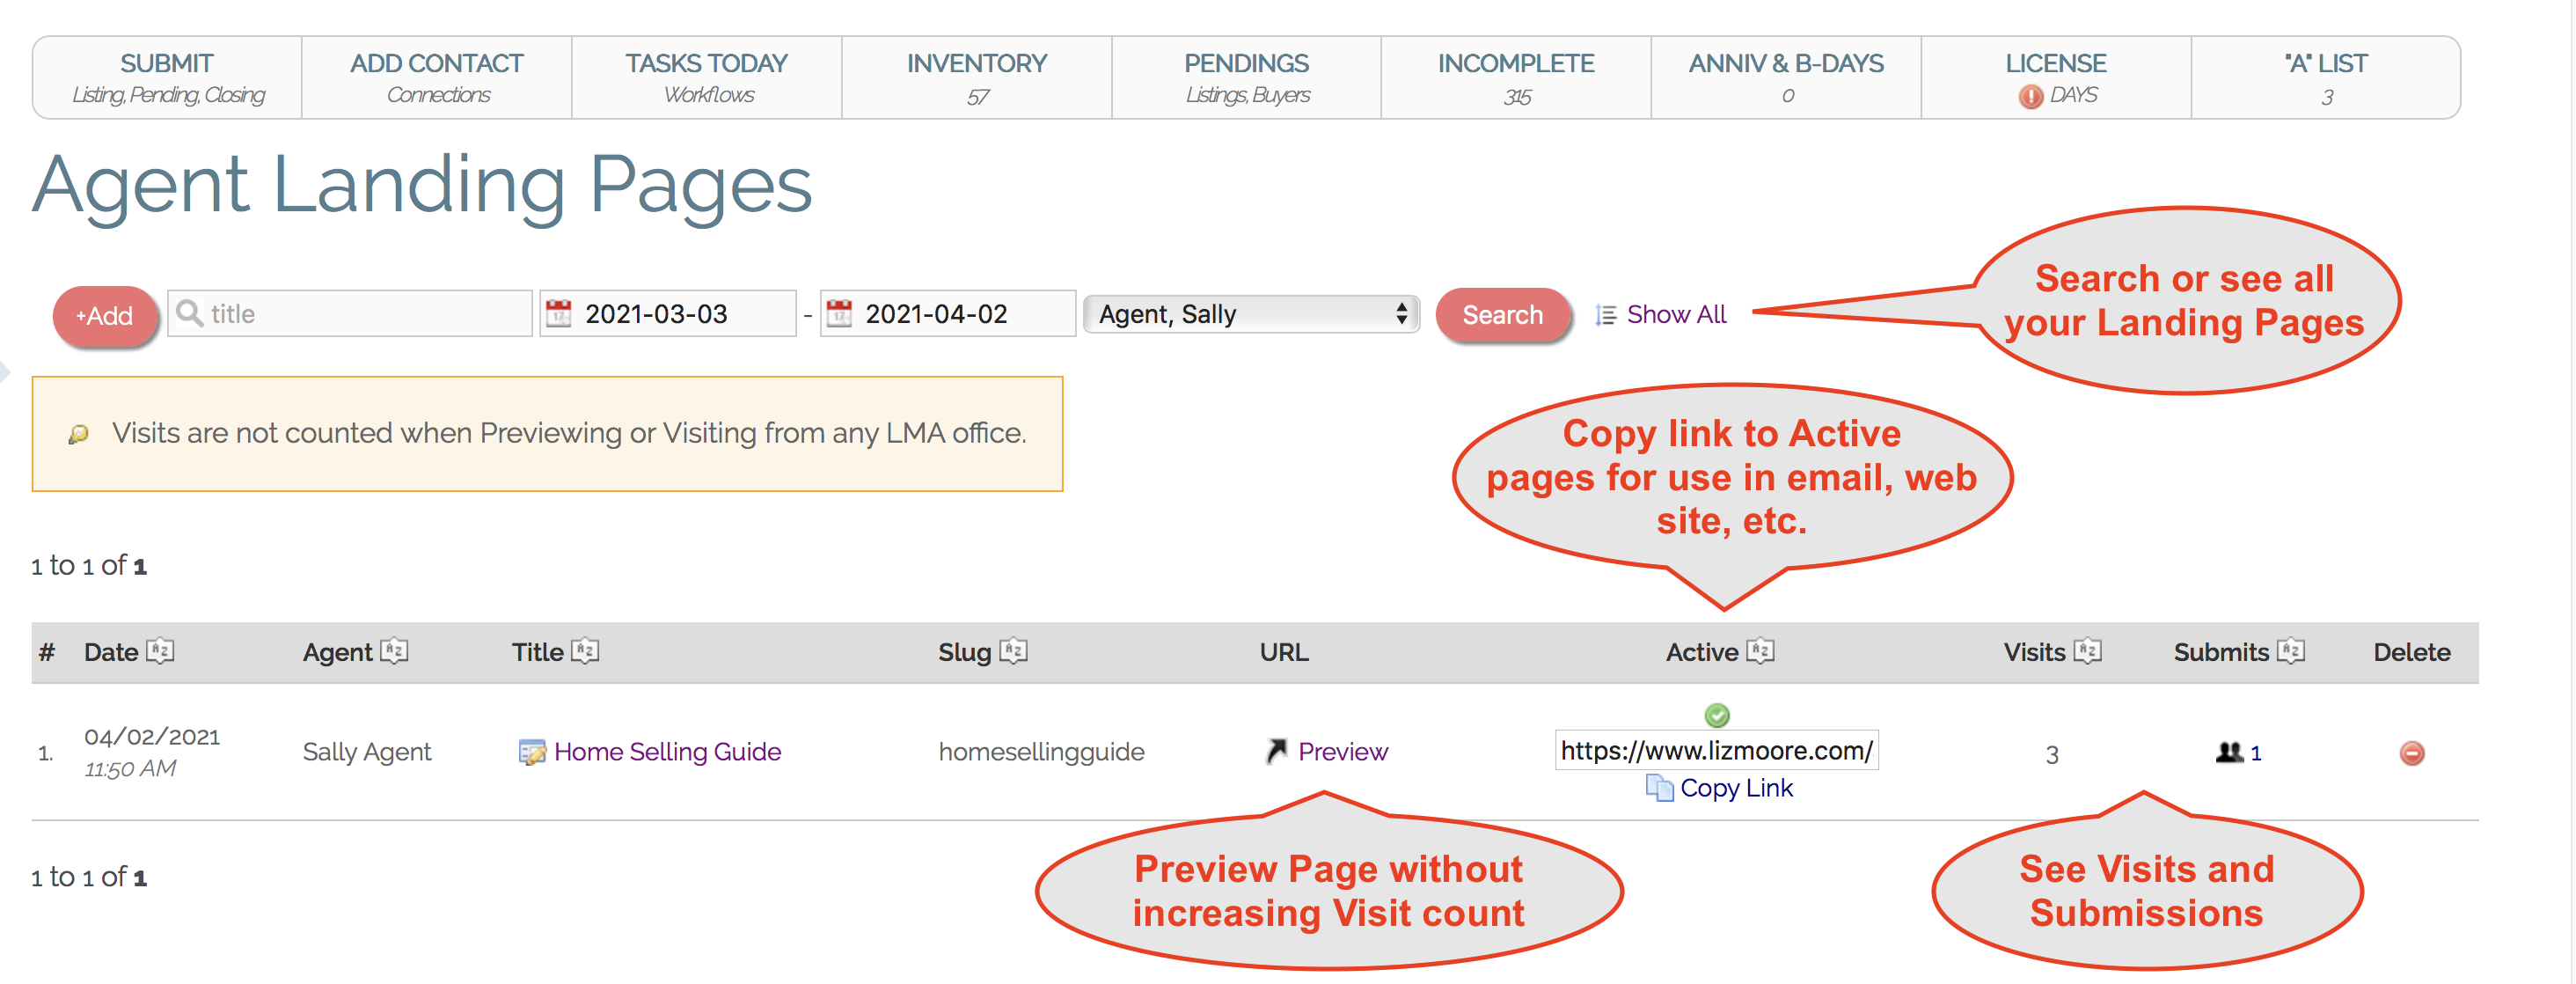
Creating a Landing Page
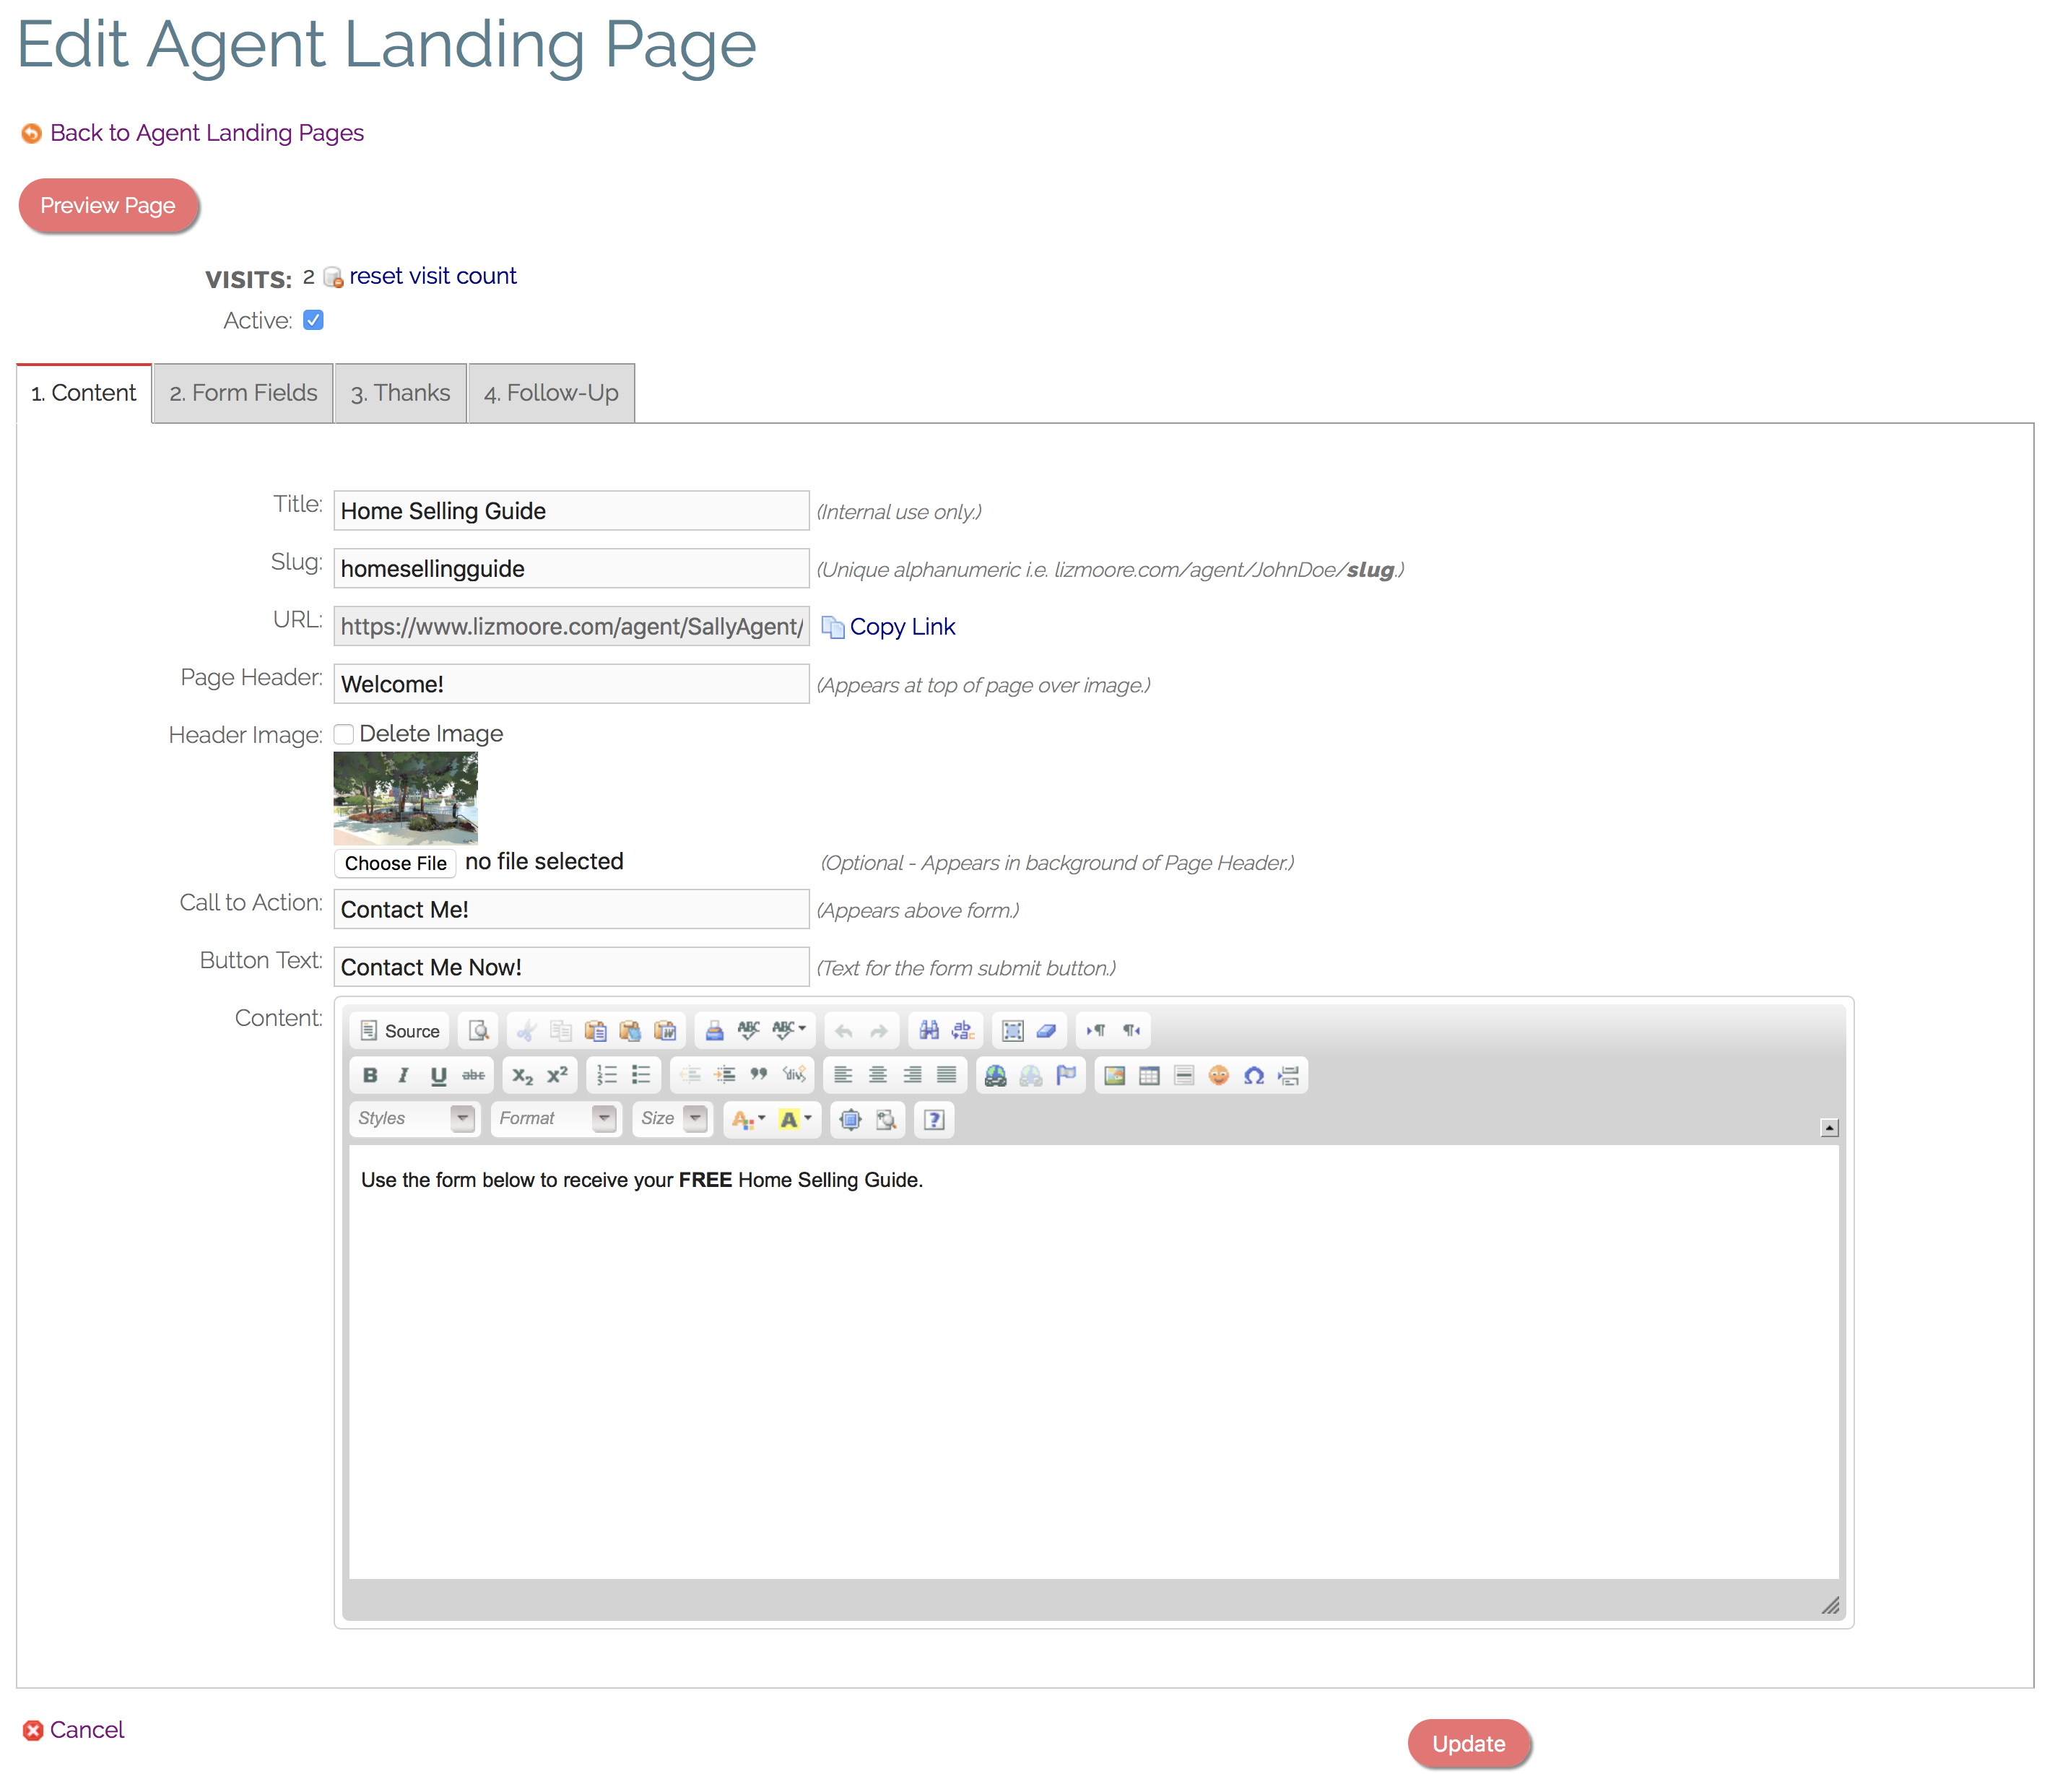
1. Content
- Title: Enter a label for your use only. Not shown to the public.
- Slug: This is the last part of the URL (web address) where your Landing Page will live. For instance, lizmoore.com/agent/SallyAgent/slug
- URL: Automatically generated from your slug.
- Page Header: Styled text appears at top of page over top the Header Image (if used).
- Header Image: Appears and background image to page header.
- Call To Action: Styled text appears immediately before form.
- Button Text: Label text used for form button.
- Content: Appears immediately after Header and before Call To Action.

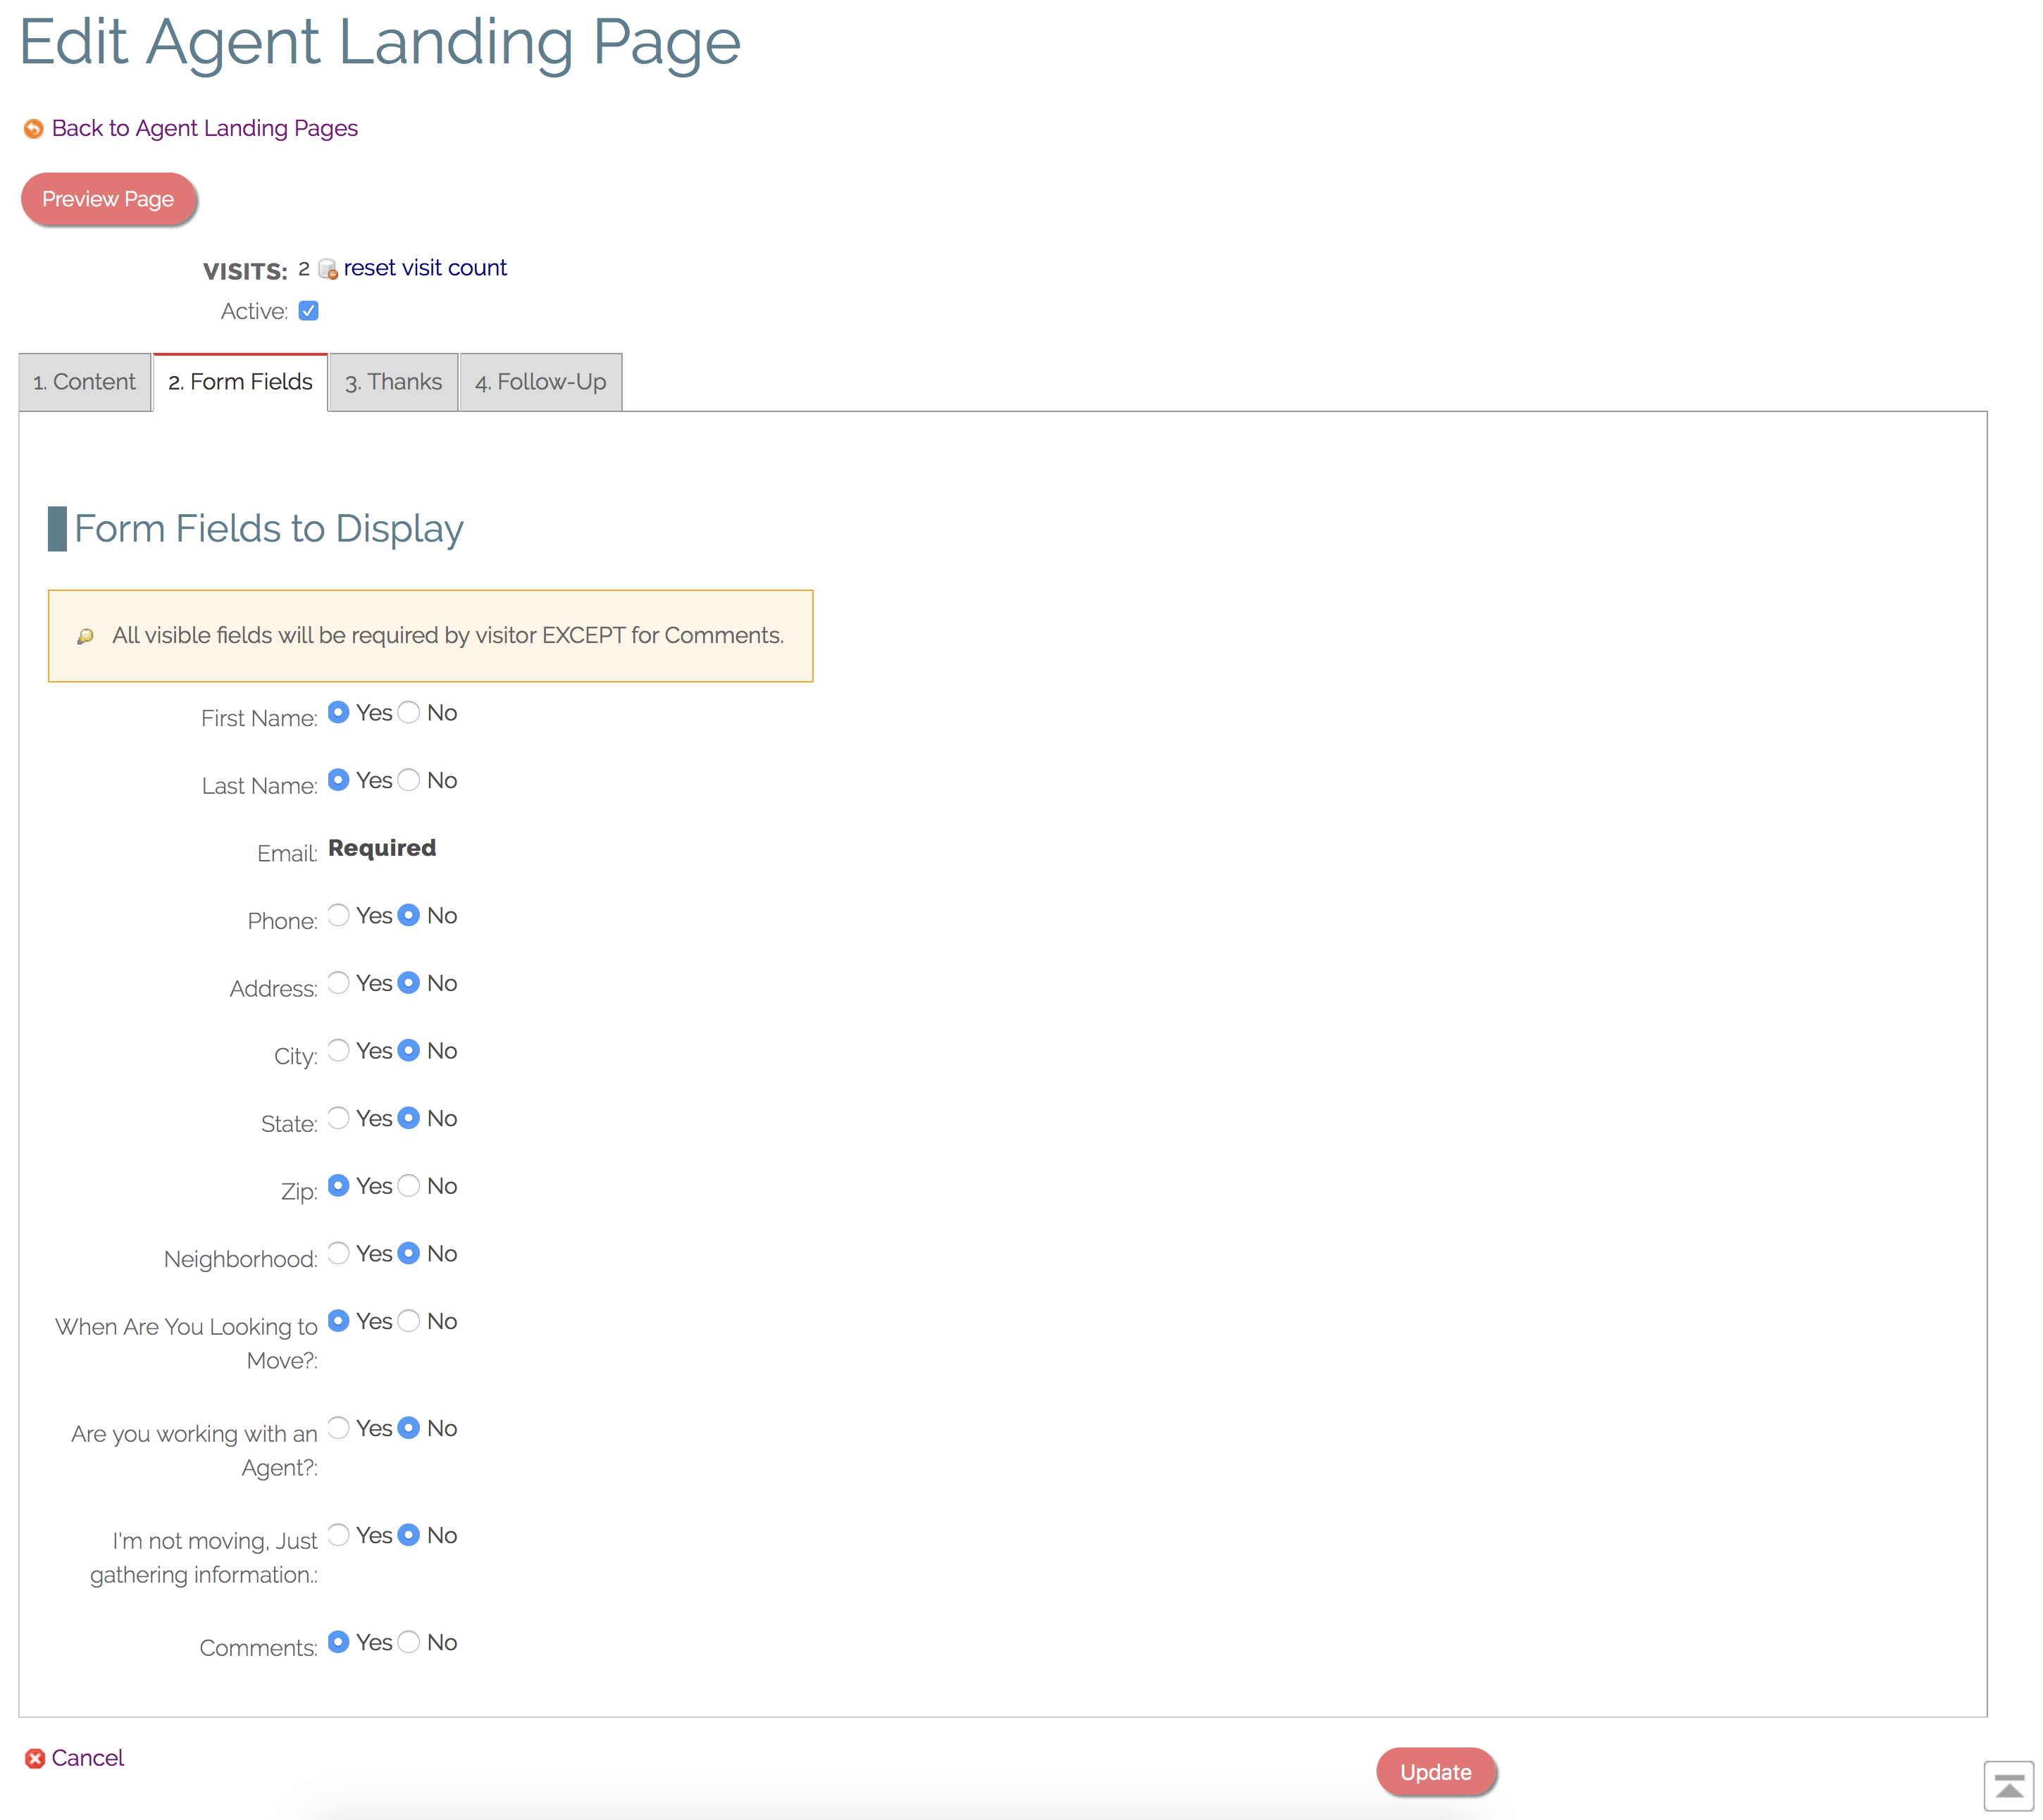
2. Form Fields
- Choose which form fields to display to the visitor.
- All fields used are required (except for Comments).
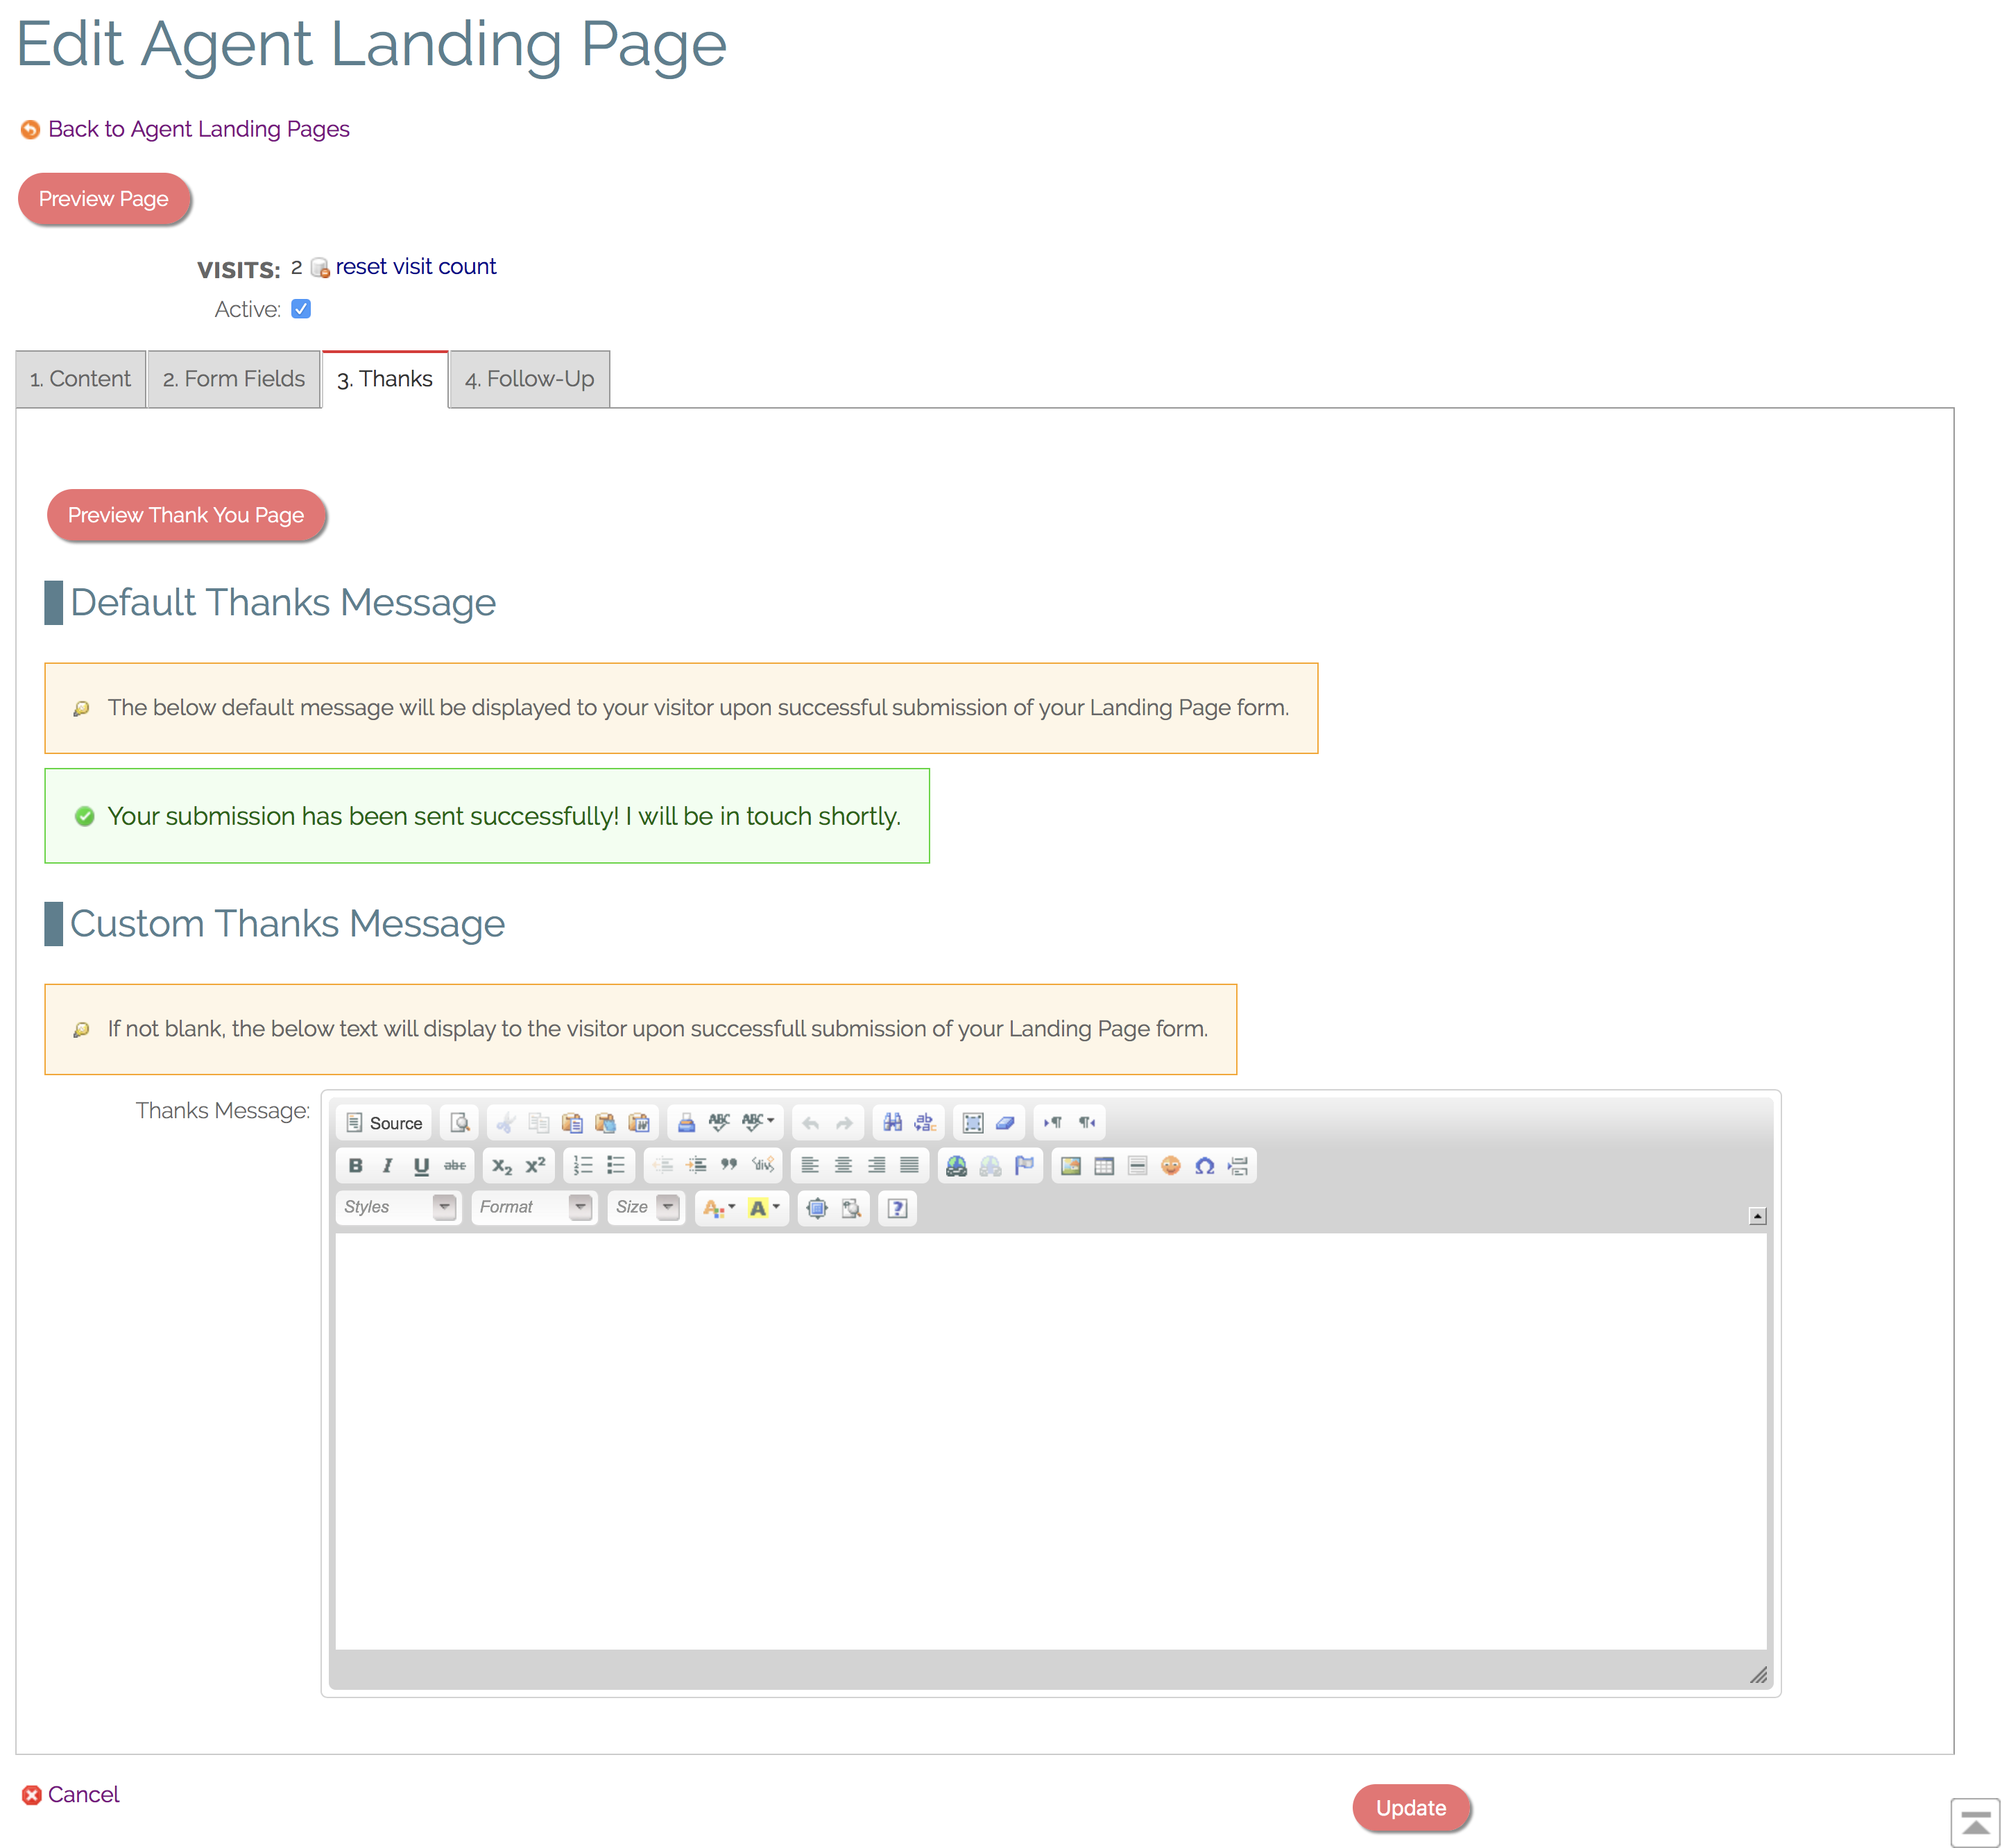
3. Thank You (optional)
- Appears on screen immediately after successful submission of form.
- Use default Thank You message or create a custom Thank You message.
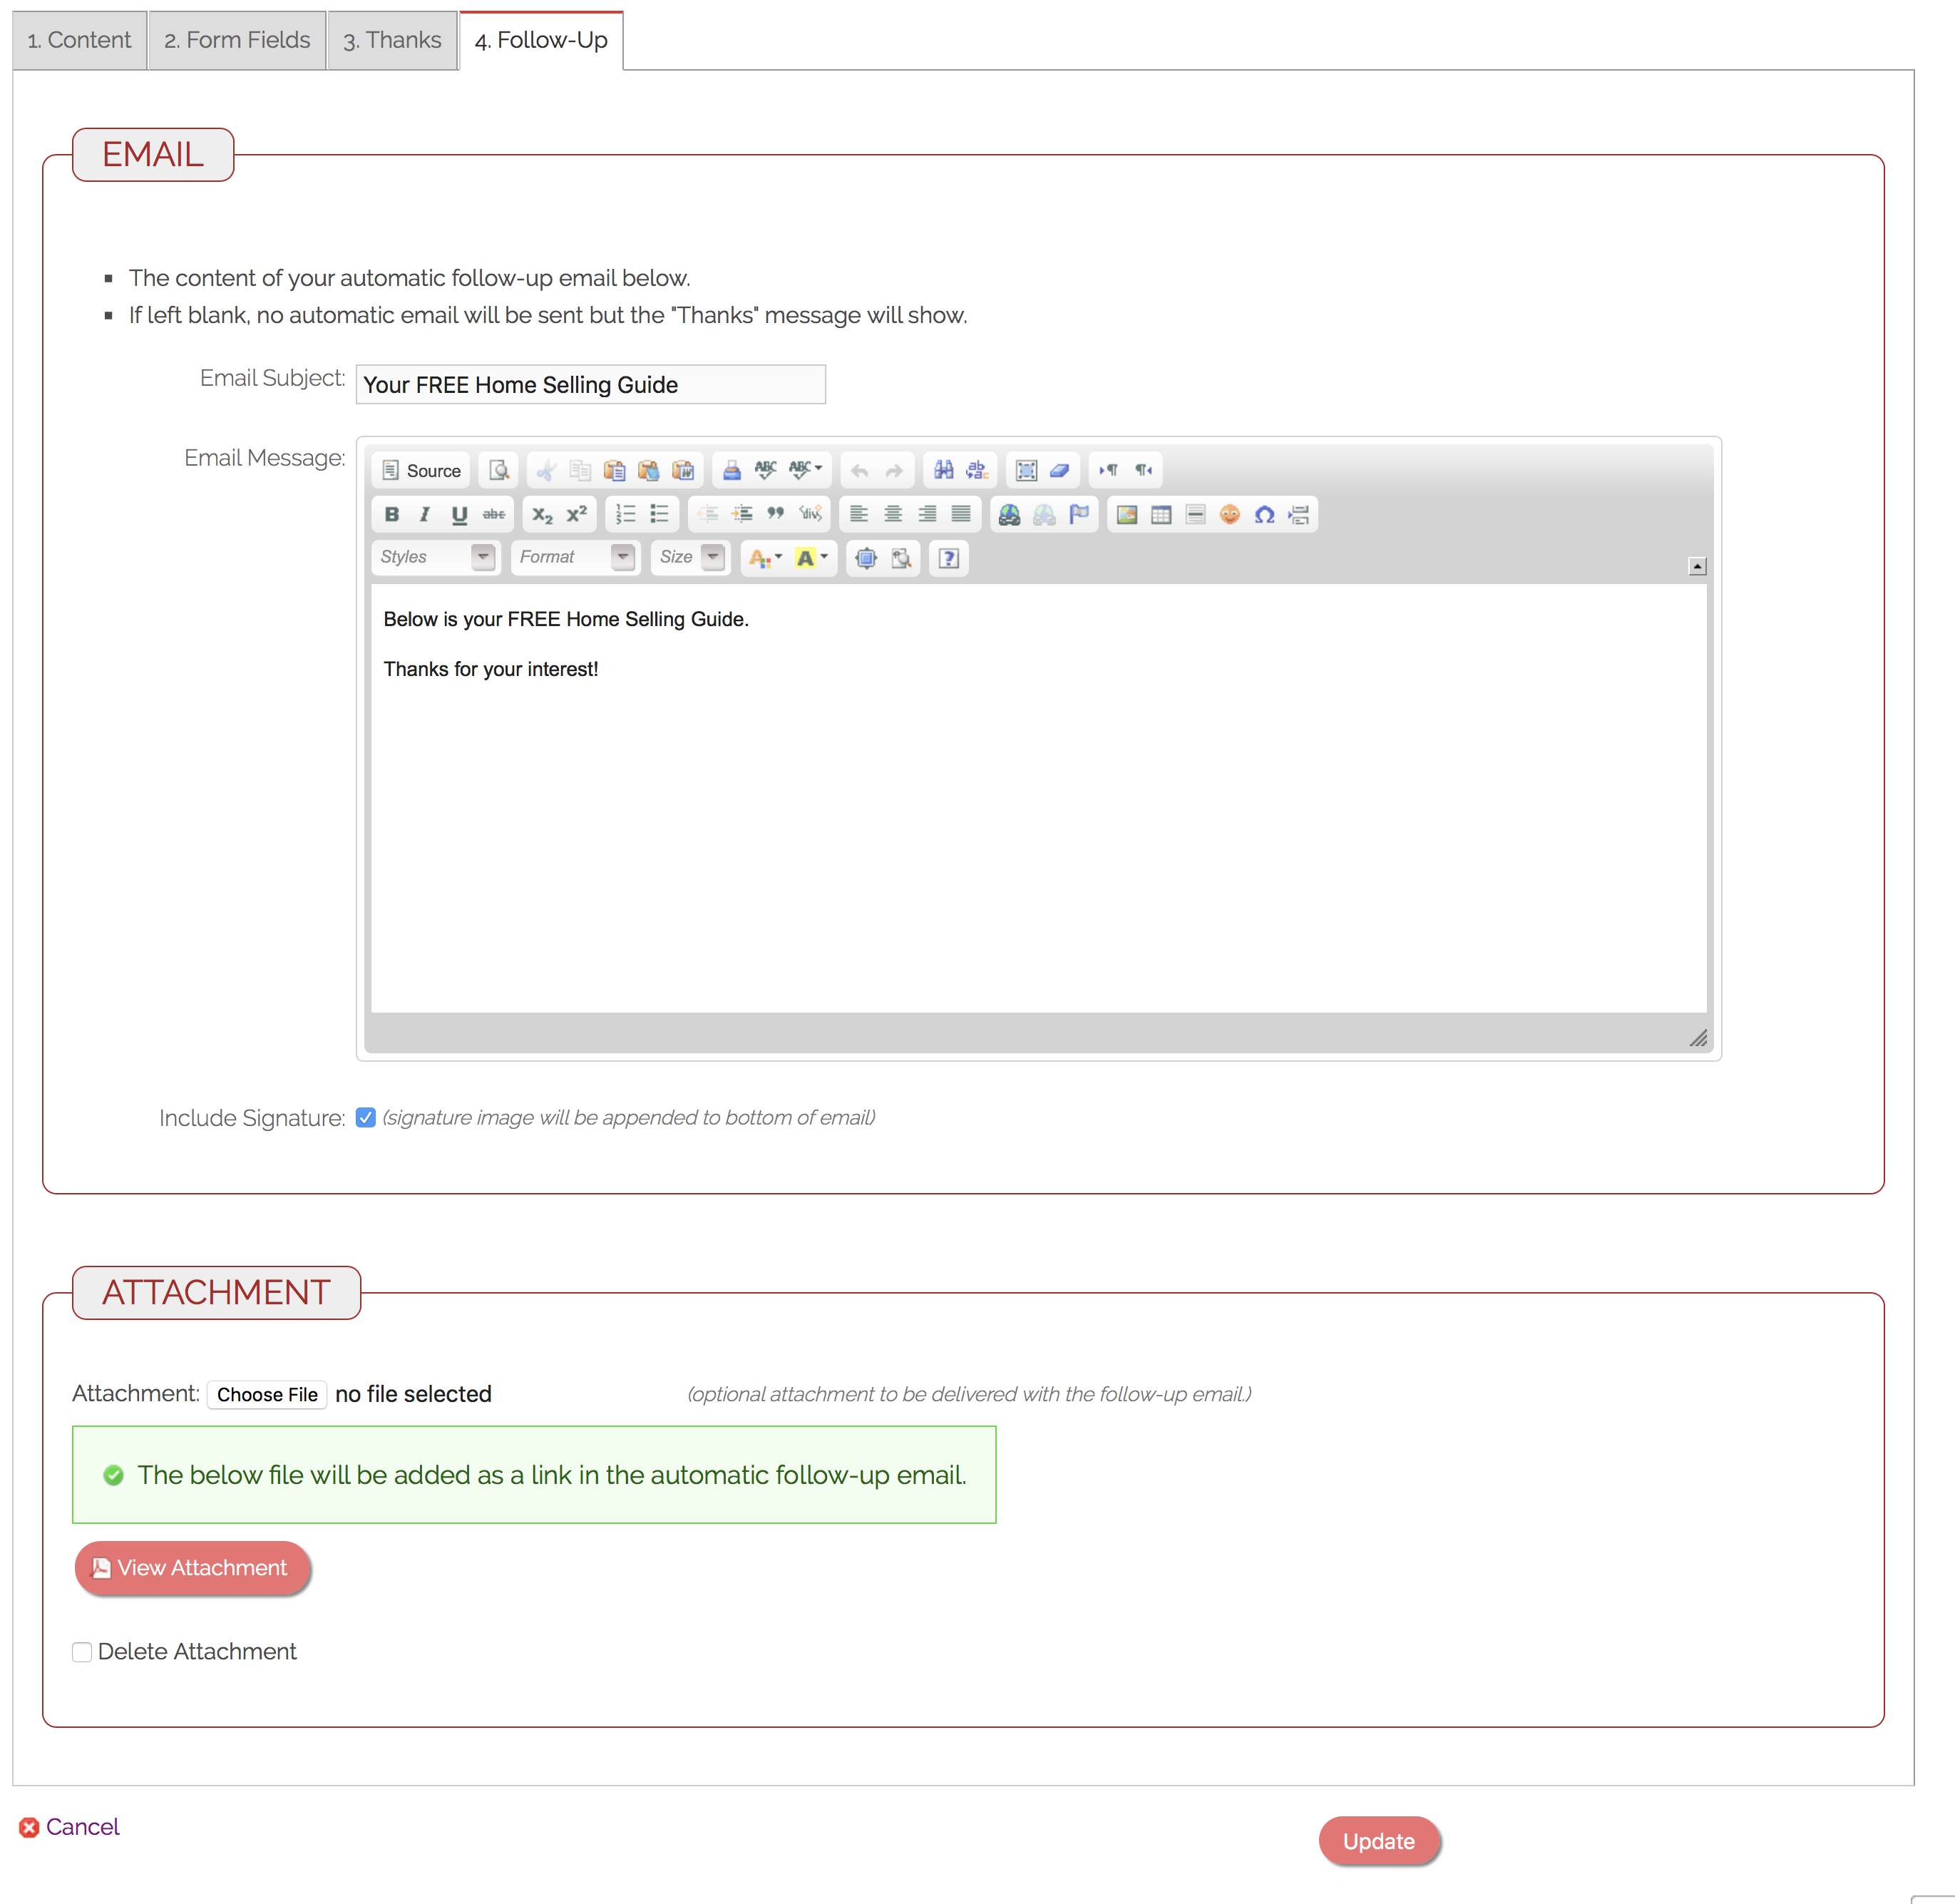
4. Follow-Up (optional)
- Define an automatic email to be sent to visitor upon form submission.
- Optionally upload a file to be automatically sent as a link in the Follow-Up Email.
- Optionally have your uploaded Agent Signature automatically appended to the bottom of the email.
Comments
0 comments
Please sign in to leave a comment.